 button at the upper left. Tap the Color Hints ICON to send the mosaic.
I wanted to make a queen size quilt to use in a bedroom and was inspired by a photograph hanging on the wall. Below is that photograph.

Hydrangea Inspiration Photo
I enjoy this photograph and the colors go well with the natural light in the bedroom. So, I decided to focus on the colors found in the hydrangeas. But rather than rely on a single photograph, I went out and took photos of a range of blue hydrangeas. Here are some of those photographs.
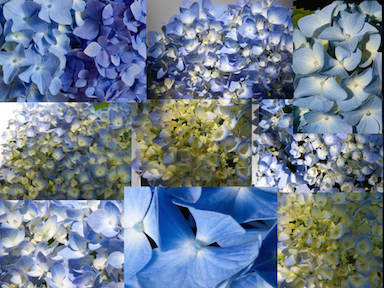
Other hydrangeas
The colors range from a pale green to blue-purple, with a little white and yellow as well. Using Color Hints, I was able to get detailed analysis of the colors in these photos. The resulting Swatches looked like this and you can see that there is a broad range of colors in these Swatches.
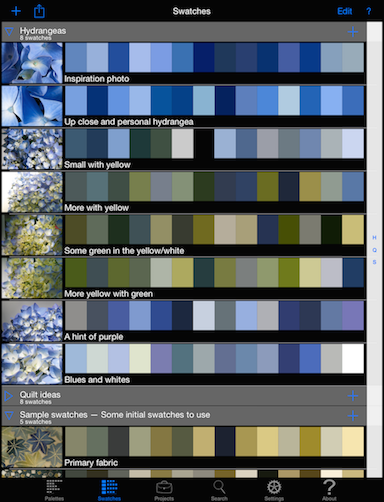
Hydrangea Swatches
Going back to the original photograph, I decided that for a quilt, the dark region on the left side of the photo was a bit too much. So I created a new version of the photograph that removed most of the dark region on the left of the photograph.

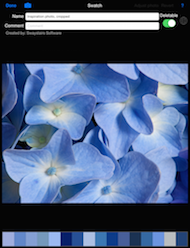
Original Photograph Revised Swatch
Hydrangeas are clusters of blossoms. Each blossom is formed with four petals. In the photograph, the clustering and overlapping of the petals produces triangular shapes. Light and dark areas randomly appear creating visual interest.
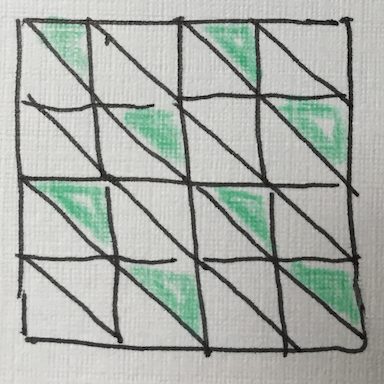
One of my major questions was how to translate this photograph into a quilt. I did not want to try to make a quilt that literally looked like the photo. At first I toyed with the idea of using a watercolor approach. The triangular shape of the petals that I noted above is one of the reasons I chose to use Half Square Triangles as my basic element. I used Color Hints Mosaic to help visualize this approach by experimenting with the number of squares or triangles to use in Mosaic. Eventually I chose a value (80 triangles) that looked good to my eye. The setup in Mosaic looked like this:
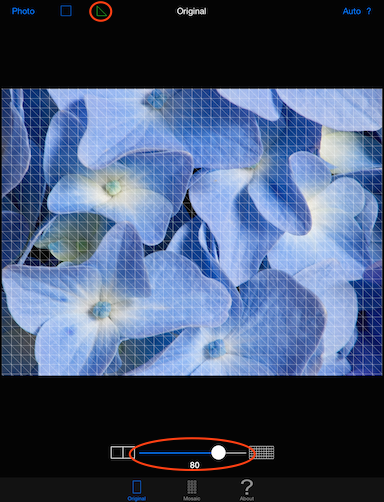
Color Hints Mosaic setup
Switching to the Mosaic tab gave me this result:

A Mosaic version of the hydrangea photo
Color Hints Mosaic has an easy way to send the resulting mosaic to Color Hints. Just tap the button at the upper left. Tap the Color Hints ICON to send the mosaic.
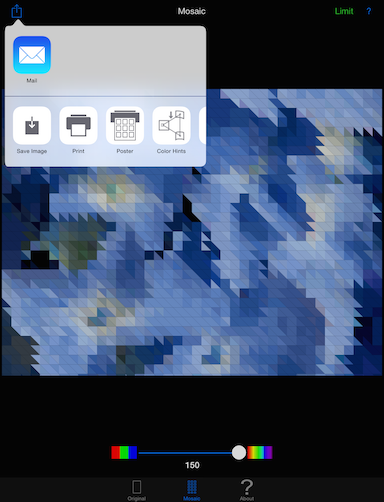
Sending a mosaic to Color Hints
In Color Hints I ended up with this Swatch and later changed the name to Hydrangea as mosaic to make it easier to remember:
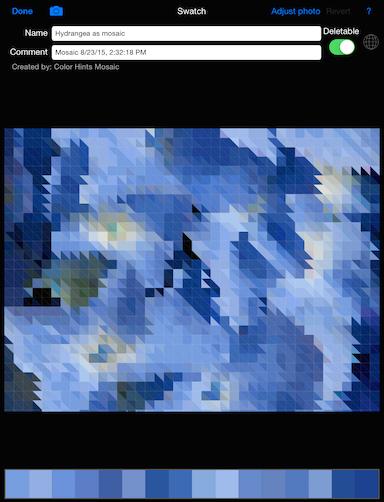
Resulting Swatch in Color Hints
That looks interesting. But, if I double tap the colors, I can see all of the discrete colors in the mosaic.
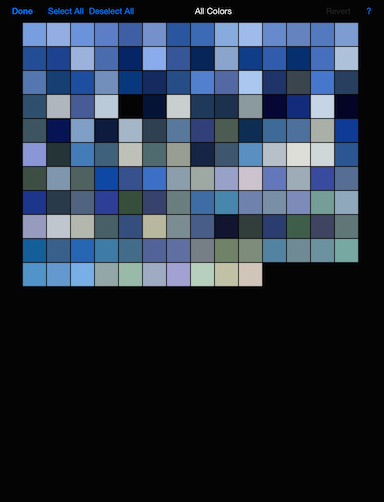
Colors in the mosaic
That gives me a good feel of the colors that appear in the mosaic that might be used in a quilt. But it's 150 colors! More than I wanted to deal with. I could go back to Color Hints Mosaic and dial the colors down to a manageable number, say 30 - fine if I wanted to reproduce this mosaic exactly. But, the original photograph, and the mosaic, are an inspiration, not my end goal. And rather than using monochrome color triangles, I wanted to use prints in my triangles. With a feel for the colors involved, the half square triangle technique chosen, it was time to get some fabric.
In Color Hints I wanted to create a collection of colors to potentially include in the quilt. You could think of this as my guide for shopping. Here's how I created the shopping list.
First I went to the Swatch tab and double tapped the mosaic'd version of the hydrangea photo. From there I double tapped the set of colors at the bottom.

Getting ready to select colors to use in the quilt
Here I tapped to select or deselect colors that I wanted to include in my quilt. A tap and hold gesture here produces a full screen version of the color. This can be useful when you're shopping.
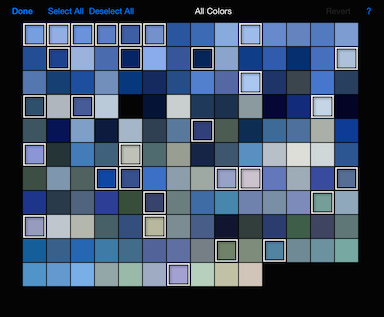
Selecting colors to use in the quilt
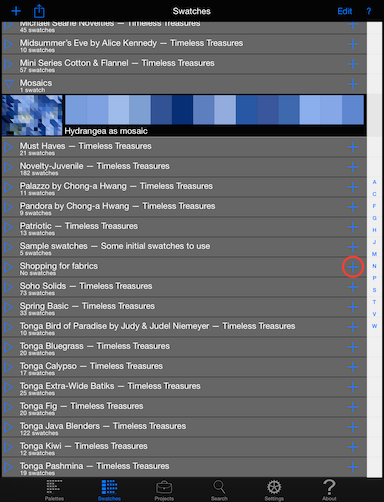
With these colors selected I had my shopping list. My plan was to use Color Hints while I was shopping. To make things easy, I created a new swatch collection to store photos of my potential purchases. Here's how I did that.
Go to the Swatch tab and tap the '+' at the upper left to create a new collection.
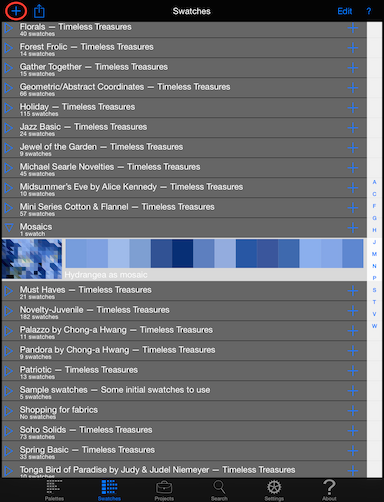
Creating a new collection, step 1
I named the new collection Shopping for fabrics and tapped
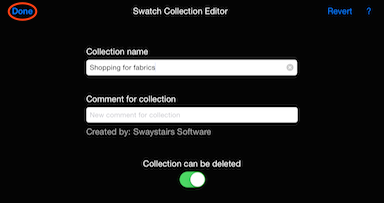
Creating a new collection, step 2
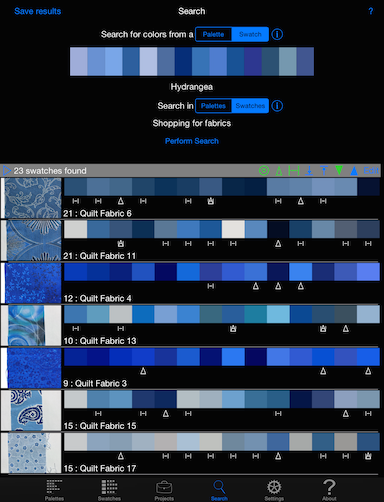
Switching back to the Search tab, I setup a search by choosing a Swatch to search for. In this case, the mosaic version of the hydrangeas.
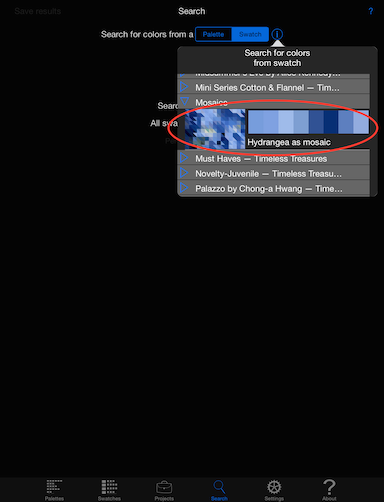
Choosing a Swatch to search for
Search allows you to limit a search to one collection. Here I chose the collection I had just created.
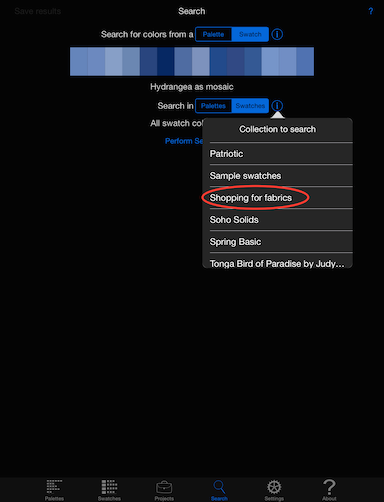
Choosing a collection to search
I tapped the
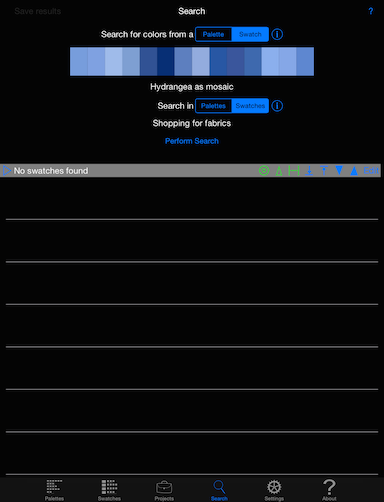
Search results before shopping for fabric
While shopping, whenever I saw a potential fabric I would hold the Color Hints color selection next to the fabric. Sometimes I would use the tap and hold gesture to compare a single color to the fabric. If I liked what I saw, I'd make a Swatch by taking a photograph of the fabric and seeing, if and how the colors came up in the Search tab. To add a Swatch, go to the Swatches tab and tap the "+" ICON for the collection to which you want to add the Swatch.
Adding a Swatch
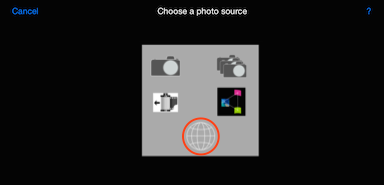
In the Swatch editor, tap the camera button at the upper left to take a photograph. Tap the button circled in red to add a single photograph. Tapping the button circled in blue will allow you to take a series of photographs and each photograph will create a Swatch.
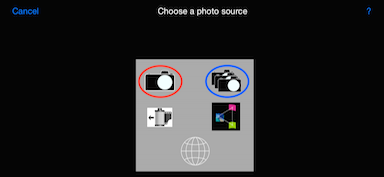
Adding a Swatch, choosing a photograph source
Whether you're taking a single photo or multiple, the standard taking a photograph screen will appear. Position the camera so that you get a good representation of the fabric's pattern and colors. Tap the big white button to take the photo. Use the
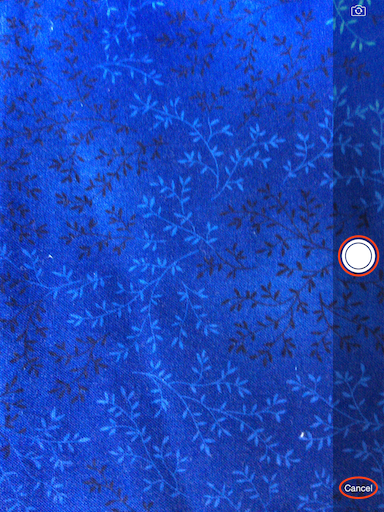
Adding a Swatch, taking a photograph
If you don't like the resulting photograph, you can retake it, or use the photo as it is.
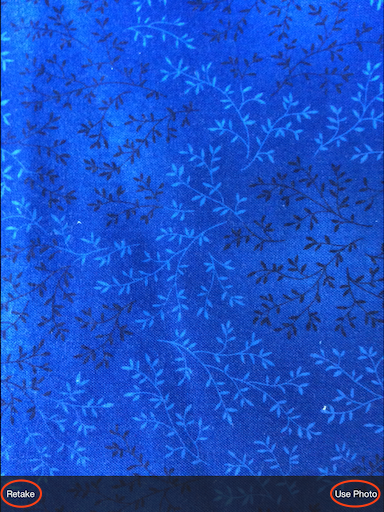
Adding a Swatch, use or retake the photograph
After taking one or more photographs, you can check to see if the new Swatches are matching the colors you're searching for by switching back to the Search tab.
Search results after adding new Swatches
I ended up buying a between a half yard and a yard of eight fabrics. I found about 20 fat quarters those that I could use, and lucky for me, they were on sale. Here is a photograph of some of the fabrics I chose.
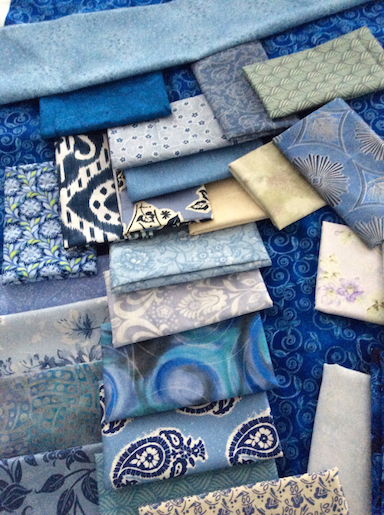
Shopping results
After I started cutting squares and making half square triangles, I figured out that I hadn't purchased enough fabric to complete the quilt. It was 4 hour drive (round trip) back to the store, and I wasn't quite ready to make that trip again. Fortunately, there was a small quilting store about 30 minutes away. Once again armed with Color Hints I went shopping and added six more fabrics. Thirty-four (34) fabrics appear in the finished quilt. Exactly the number of fabrics I purchased. Color Hints was invaluable helping me chose these fabrics.
Since my quilt was not a literal interpretation of the photograph, there was no reason to deal with individual triangles. The queen-sized quilt was to be 90x100 inches with finished half square triangles that were 2½ inches. I elected to use a half square triangle technique I saw in an on-line video from the Missouri Star Quilting Series. This works out to 1,440 squares to place in the quilt.
A half square triangle is two triangles seamed together. Two of these half square triangles make a 2x2 square. The question was, how do I allocate my 34 colors of fabric in the construction of the half square triangles, in the 2x2's, etc.
First, I chose to orient all squares the same. Next, I systematically combined each 2x2 limting the number of fabrics contained to five: 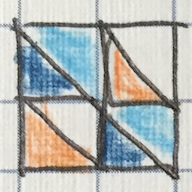 The diagonals squares were always identical:
 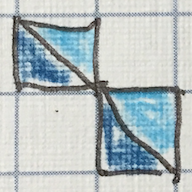 The other diagonal pair had only one identical color, like this:
 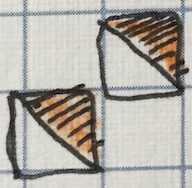 or this:
 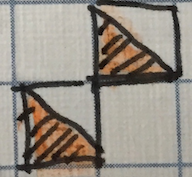 .
.
By combining squares into units of four, the number of squares is reduced to 360. I could then sort these 360 squares from light to dark. Continuing with the identical orientation of the squares, the combinations looked like this:
 These combinations produced 90 squares of the following form:
 While the diagonals had identical fabric, the other triangles had fabrics transitioning from light to dark.
These squares were grouped into similar color families and became the unit that I used to layout the queen sized quilt. Throughout, I kept the orientation of the squares identical.
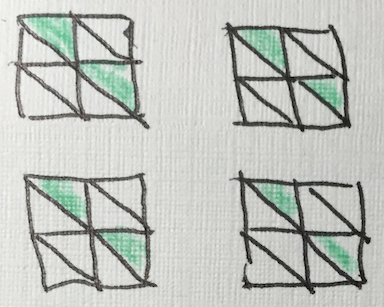
In the hydrangea photograph, the light and dark areas appear random. I had five very light squares and chose to place them to suggest the light centers of the blossoms. In the photo, three of the corners are dark and one is a medium shade of blue. So this became my layout plan.
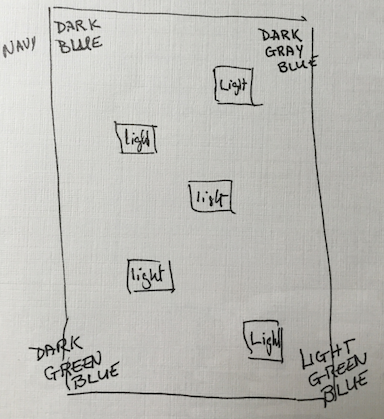
With this as a starting point, I began to layout out my 10-inch squares. I tried to create transitions from lights to darks - gradual changes of the shades of blue from one square to the next.
The quilt ended up as 9x10 of these 10-inch squares producing an approximate 90x100-inch center. In the end the layout looked a bit more like this:
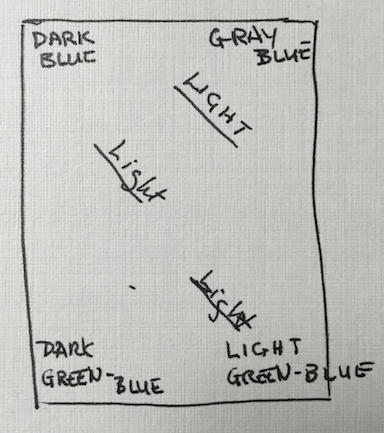
The 10-inch squares transition in and out of shades of blue creating a sense of movement and purpose. The diagonals add a sense of movement within the quilt. While there are many shades and patterns within the quilt, the color layout is purposeful, not rigid, and to my eye, conveys the sense of hydrangeas.
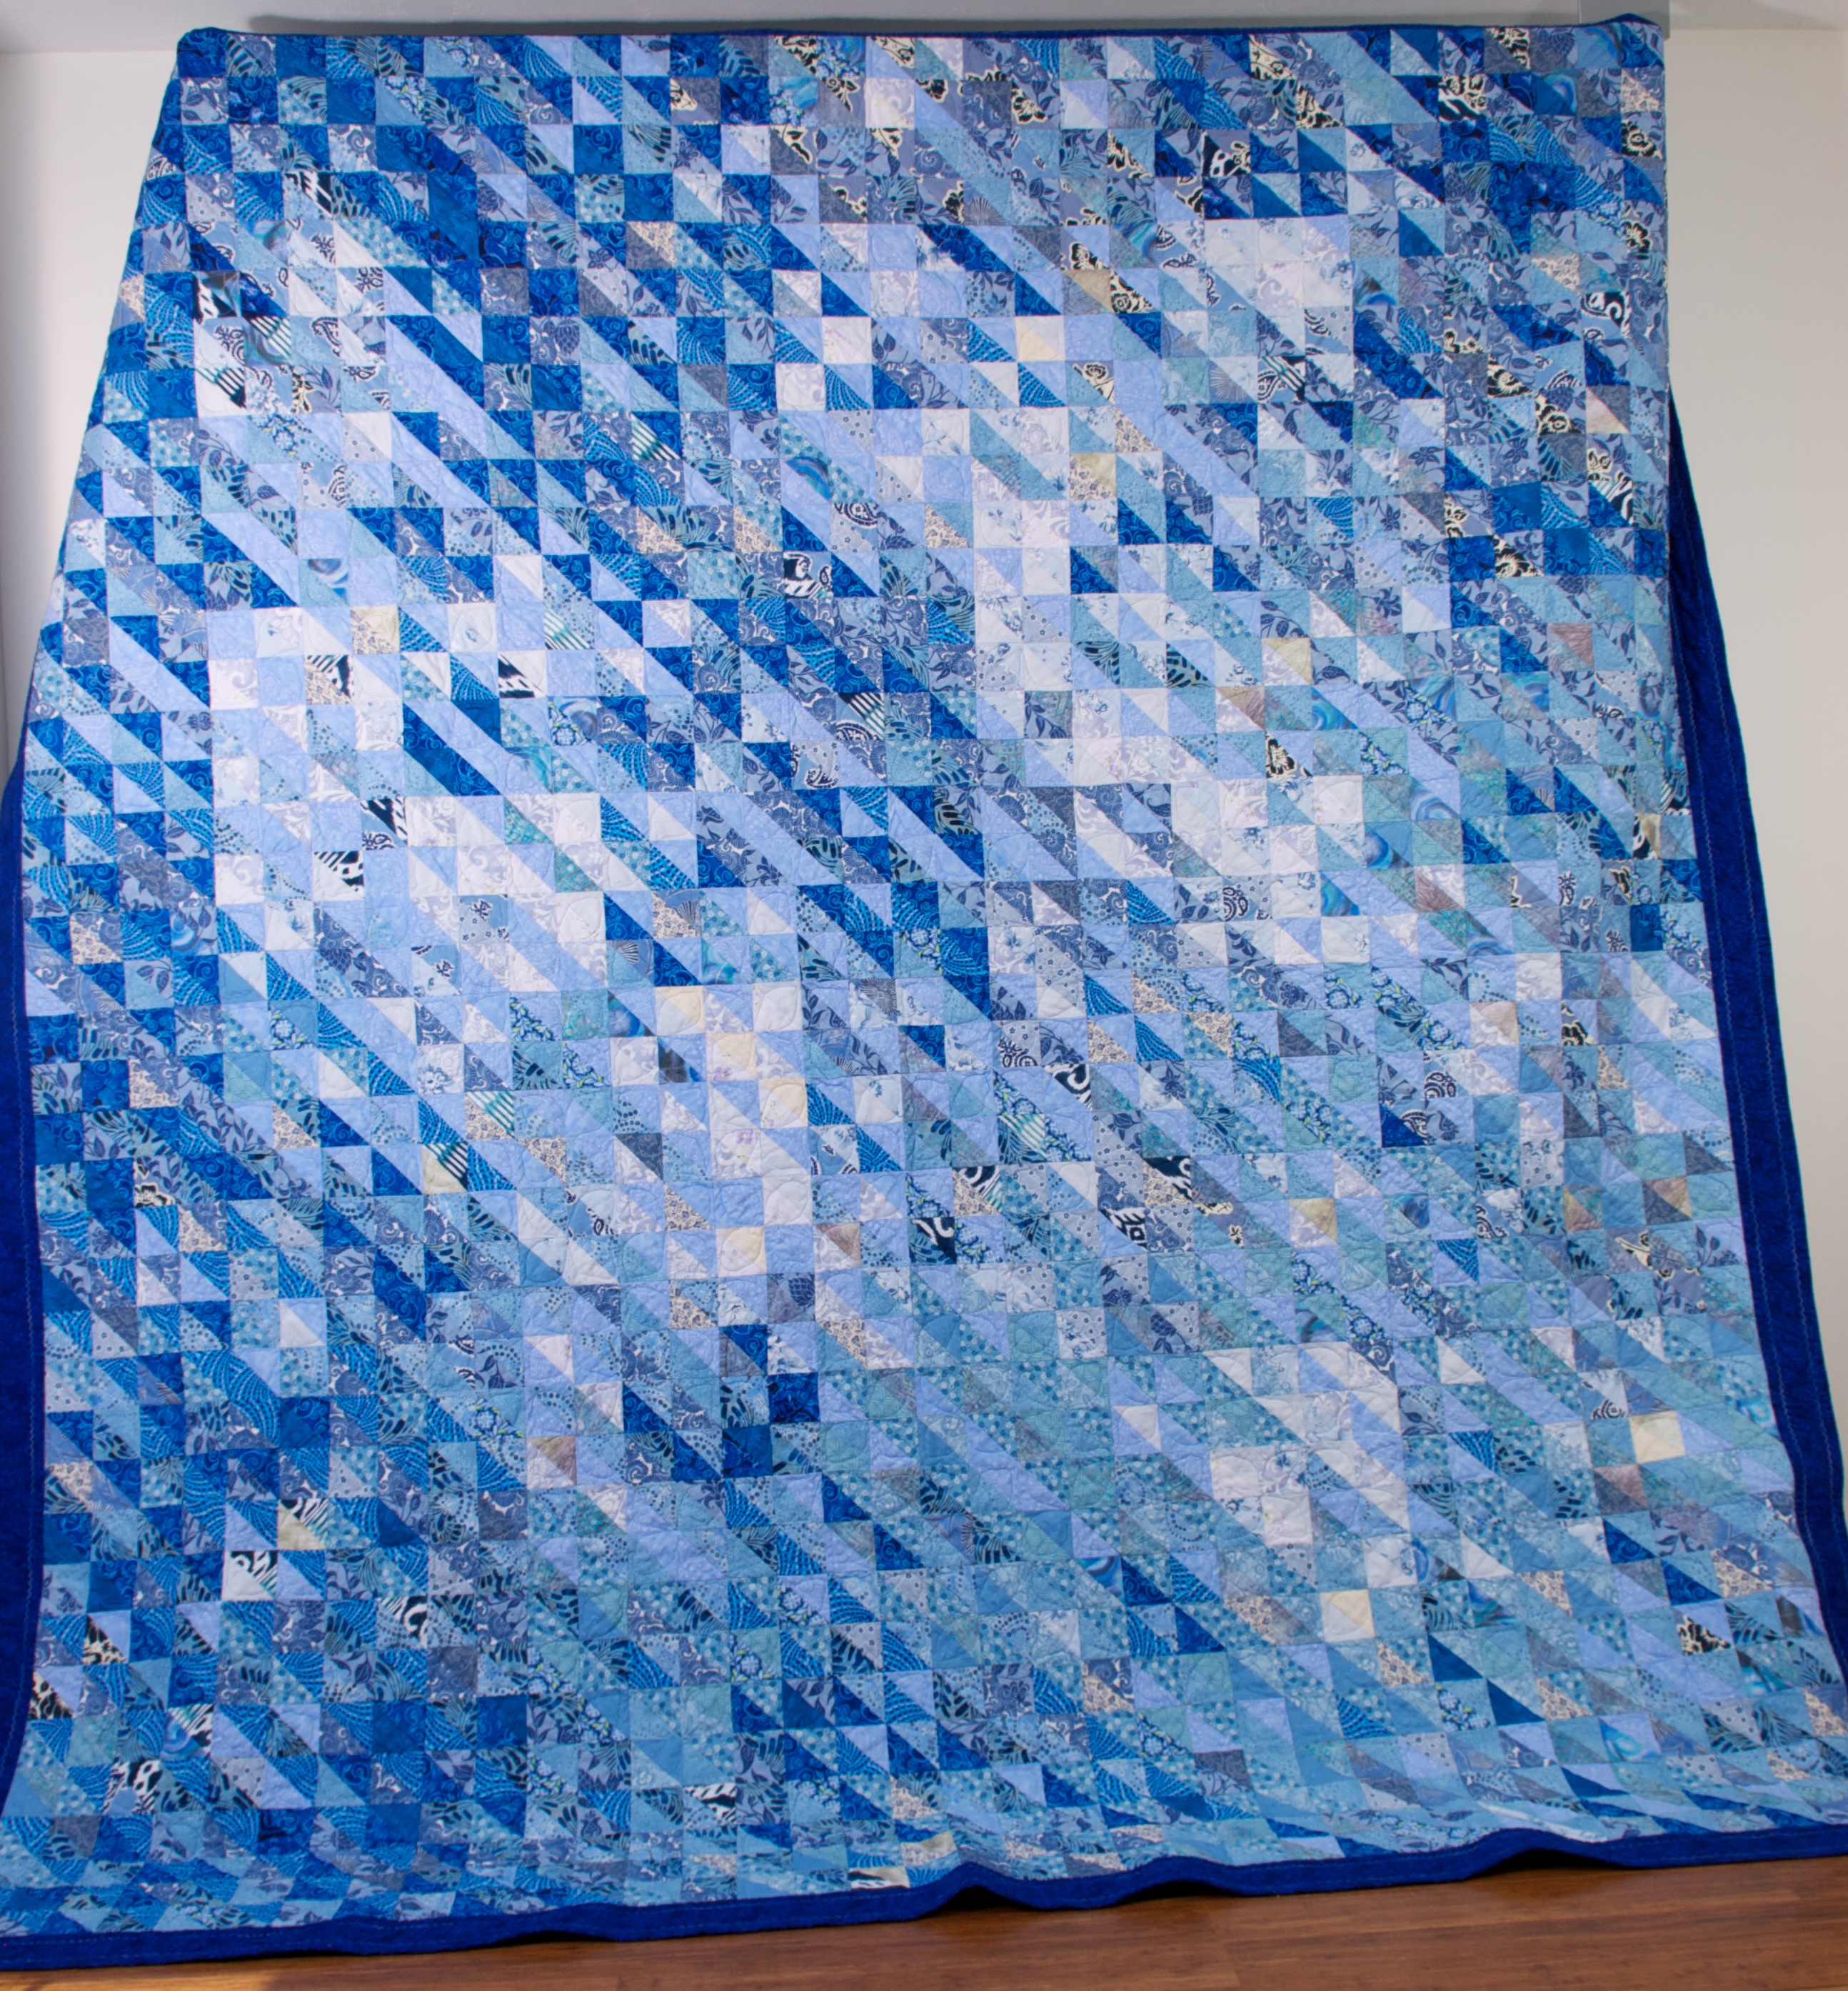
Final quilt, click for a detailed view
And as you might have noticed, the quilt is a 90° rotation of the photograph.
I did not want a seam in the backing of my quilt. For a queen-sized quilt, that meant I needed fabric that was at least 108-inches across. Local shops carry very little fabric in these sizes. So, I searched on-line for wide quilt backing. But, choosing a fabric without seeing it seemed dicey.
When I found wide quilt backing on-line, I was able to use Color Hint's ability to make Swatches from web page photos to see if the fabric fit into my color scheme. Here's how to do this.
First, create a new Swatch as described above — but this time, select the web as the photo source.
Getting a Swatch photograph from the web
I found a fairly large selection of wide quilt back on a site called www.thousandsofbolts.com, including the one pictured below. When you find a potential fabric, tap the eyedropper ICON at the upper left. When the green box appears around your photo, tap the photo.

Choosing a Swatch photo from the web
When the photo is downloaded, you should end up with a new Swatch. Color hints will try to grab information from the page for a name. You'll probably want to edit it.
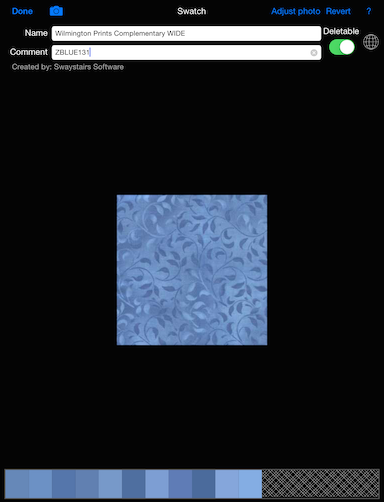
Swatch from a web image
Now you can go to the Search tab to see how well your proposed quilt back matches your color scheme. Here's a photo of the quilt with the backing I found using this method.
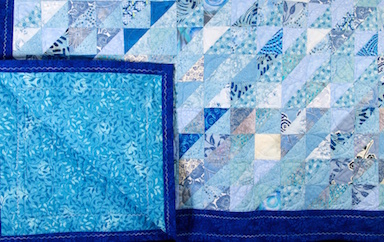
Finished quilt and backing
In the end, I'm quite happy with my adventure of using Color Hints and Color Hints Mosaic to assist in planning and creating my quilt.
emd, 26 Aug 2015